Refinished Mid Century Modern Bassett Nightstand

Over the years, I’ve refinished furniture for my own home and tackled a handful of DIY projects, but this piece was officially my first purchase with the intent to flip.
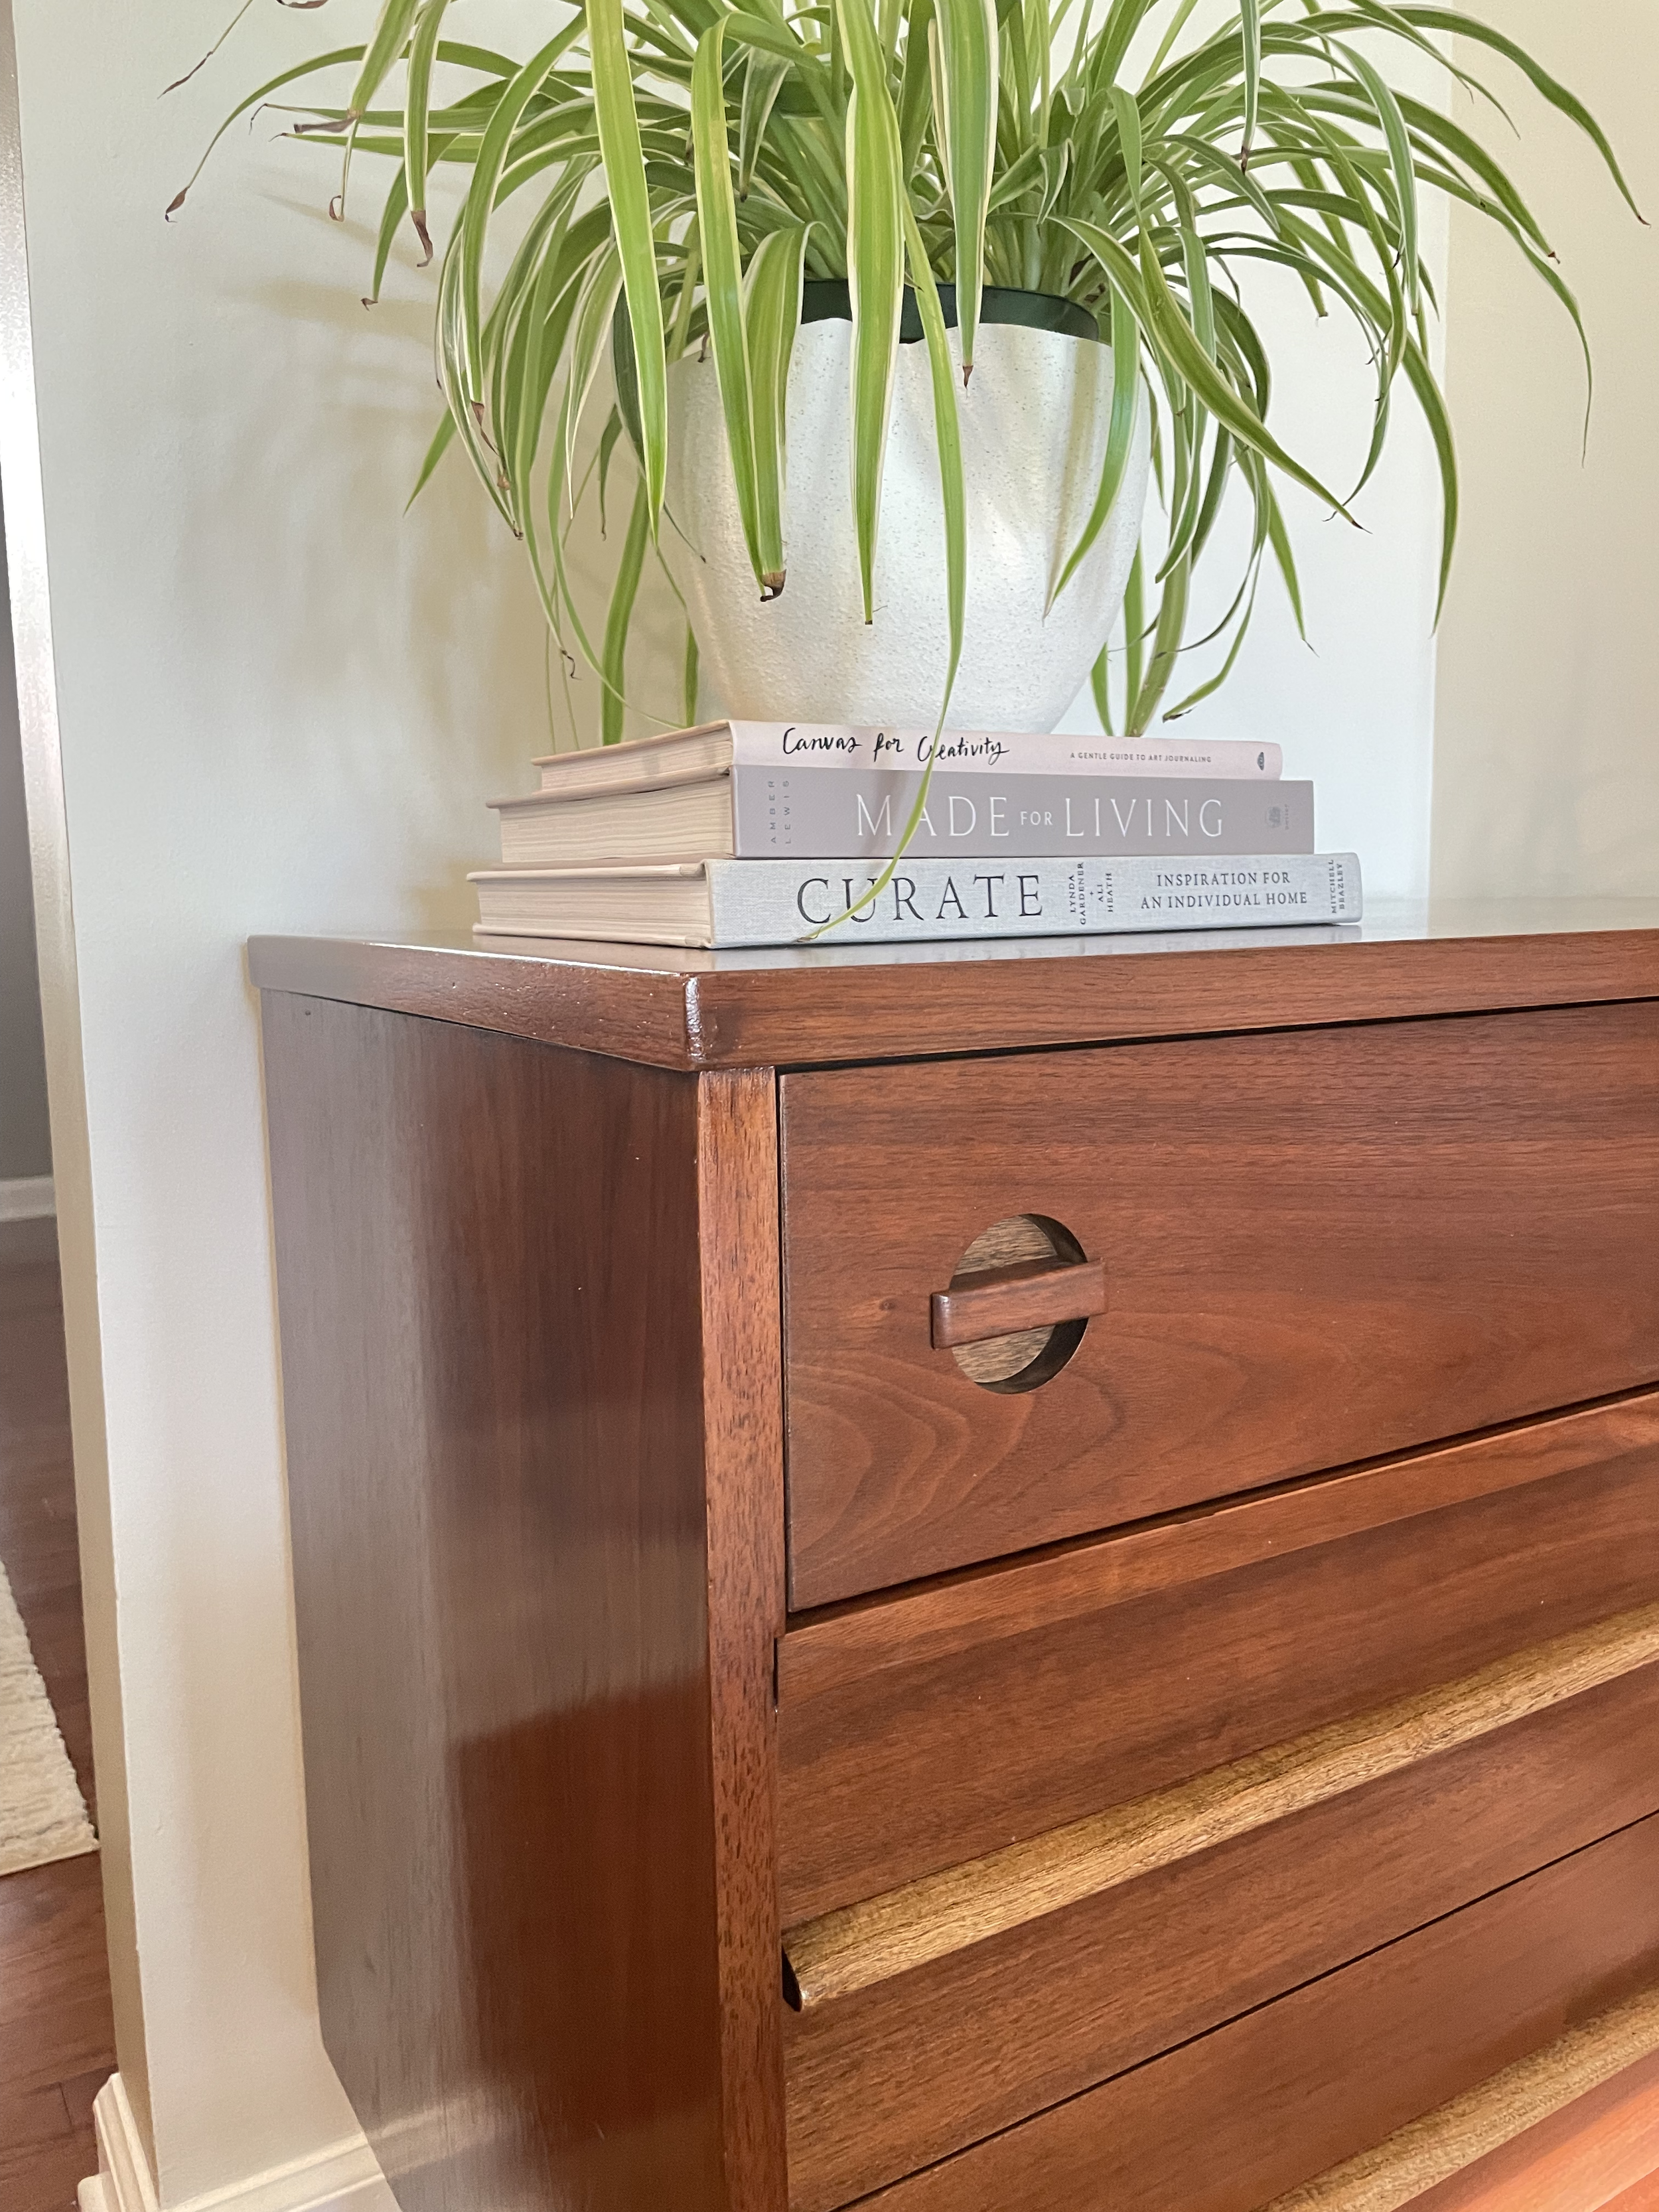
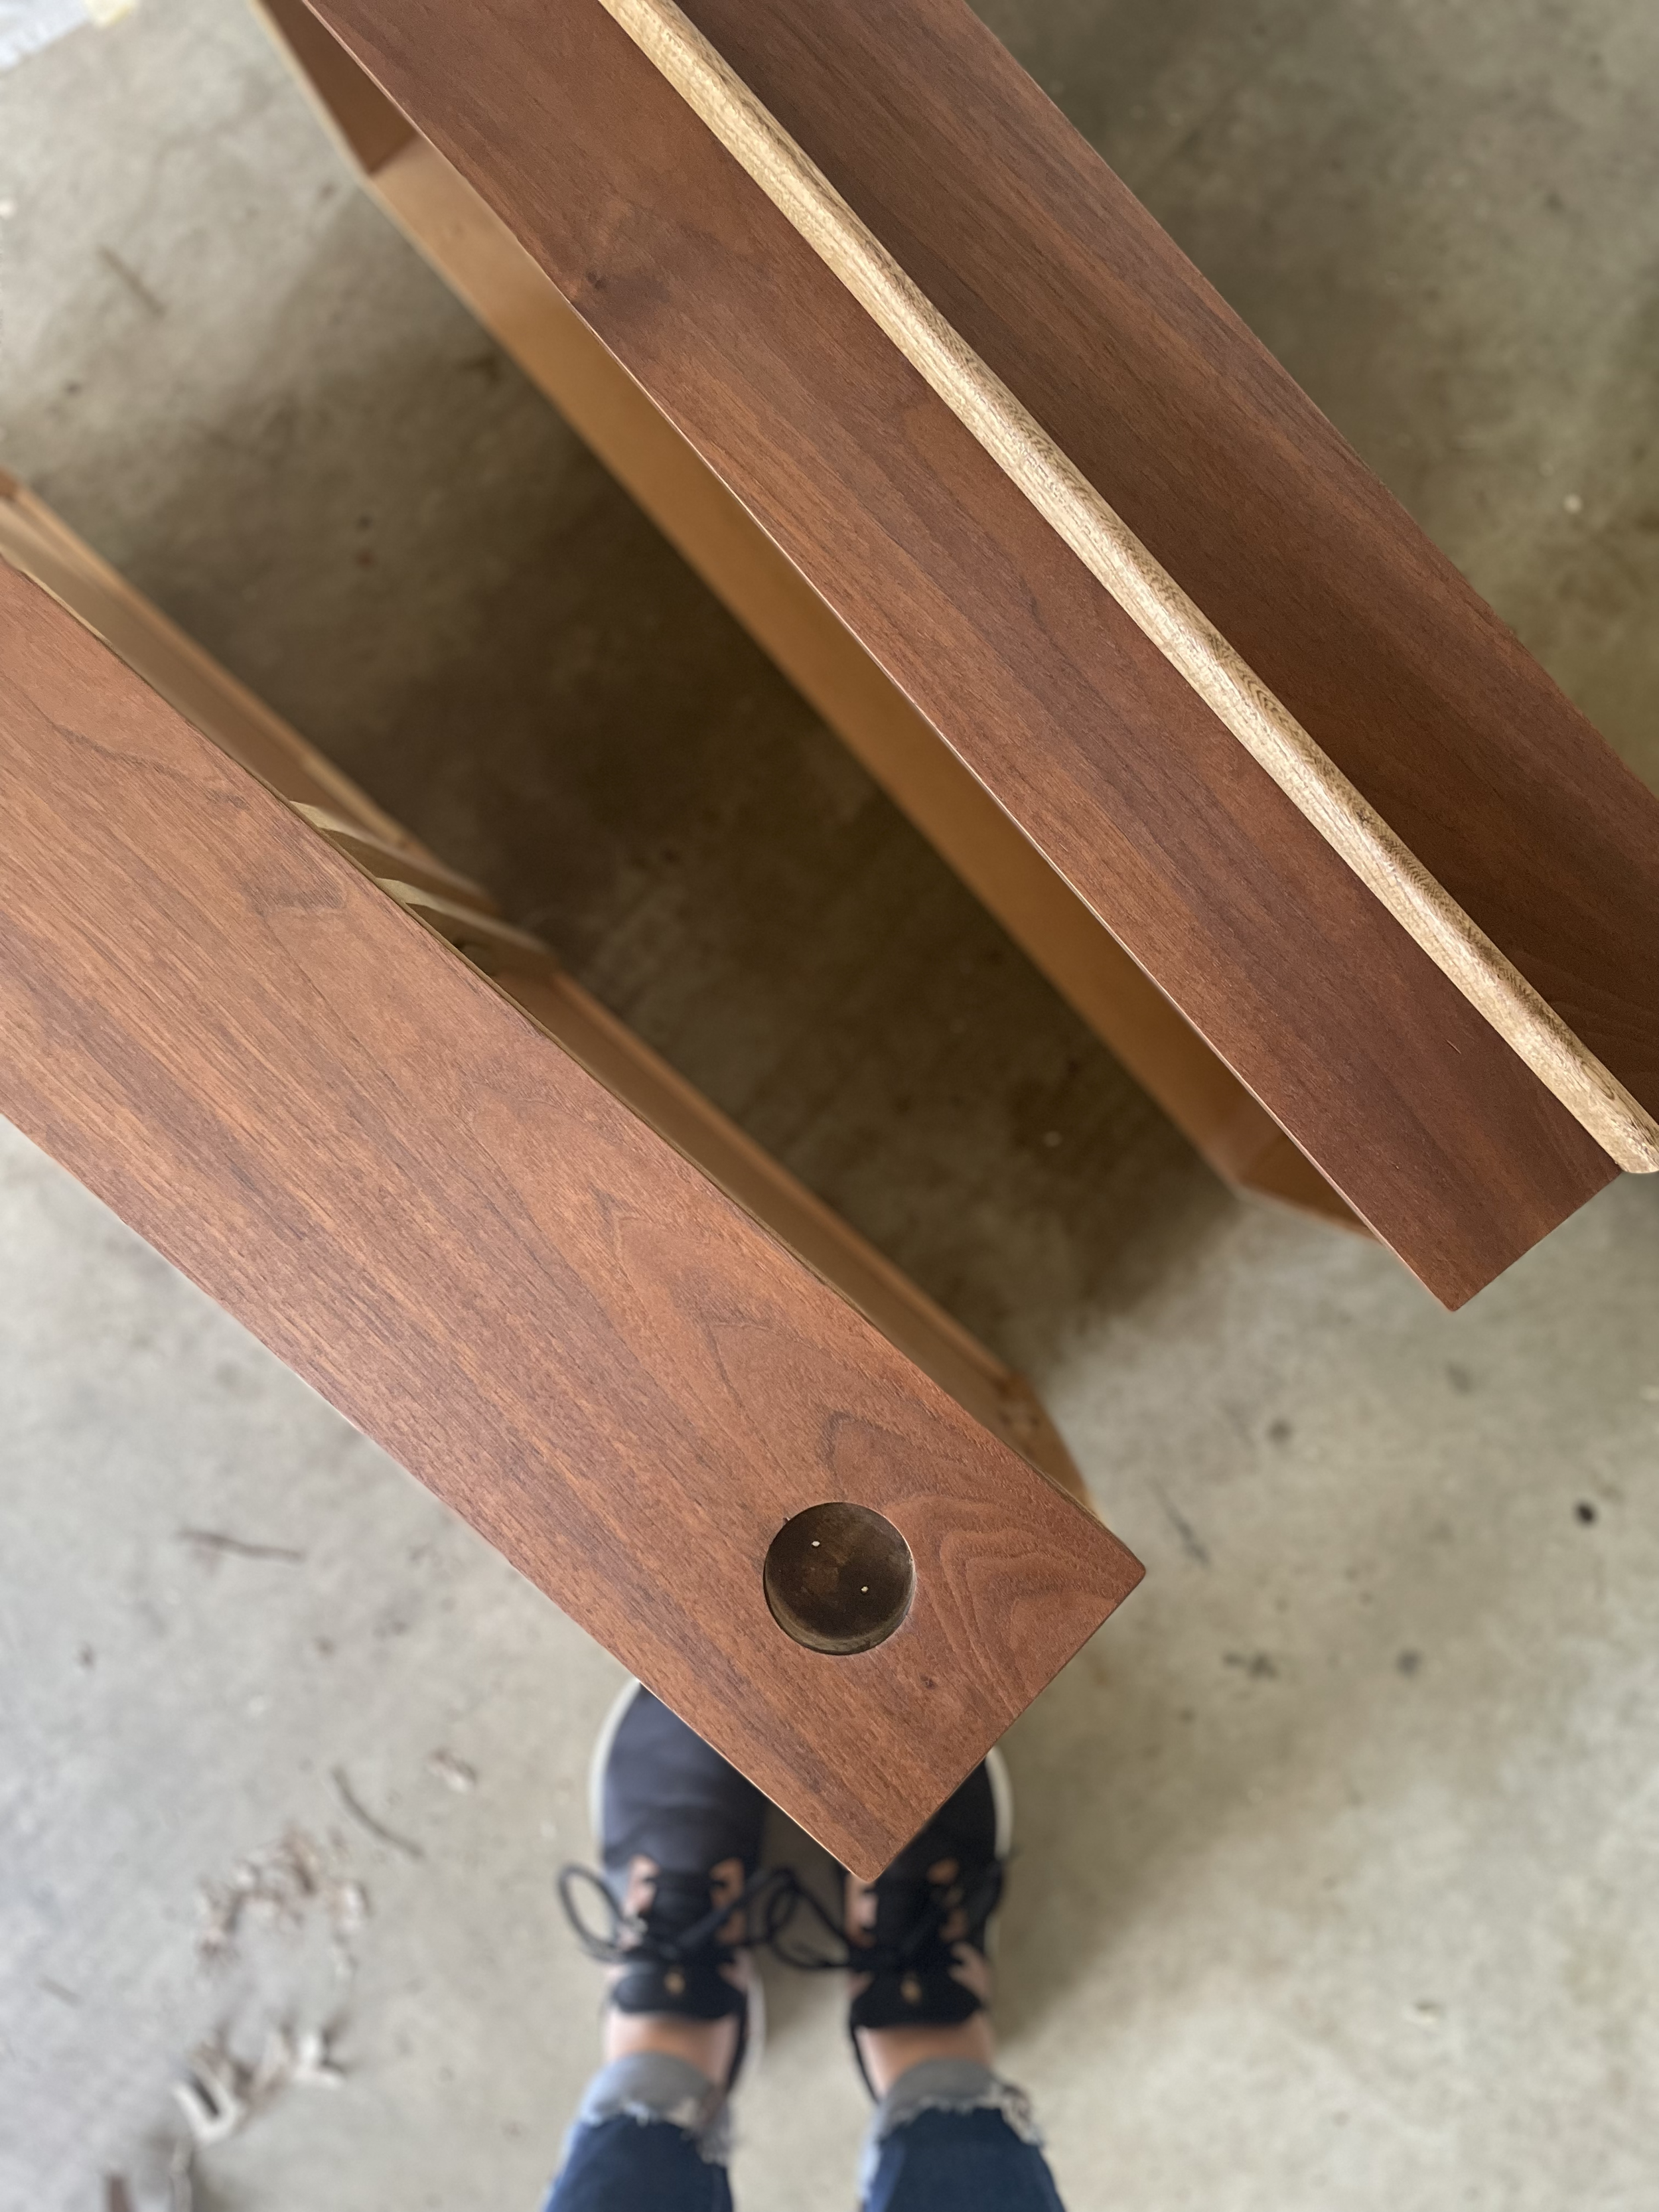
I found this beautiful mid-century modern nightstand on Facebook Marketplace for just $70. The moment I saw the inset circular drawer pulls, I knew it had incredible potential. A quick Google search turned up plenty of tallboy versions with similar pulls, but none with the exact three drawer style. So, for simplicity’s sake, we’ll call it a nightstand from here on out.
I’ve loved mid-century modern furniture since my early twenties - their clean lines, timeless silhouettes and solid craftsmanship have always captured my heart. I own a few cherished pieces that have followed me through multiple moves and seasons of life, so this find felt extra special.
When I first saw the listing though, I noticed that someone cut off the original tapered legs and replaced them with casters. I couldn’t wait to restore it to its former glory!
Step 1: Stripping and Cleaning
The first step was cleaning the entire piece, followed by using Citristrip paint and varnish remover to take off the original finish. This was my first time using Citristrip and it was messier and stickier than I expected, but it worked beautifully to reveal the stunning walnut wood grain beneath.
Step 2: Sanding and Repairing
Once the finish was removed, I carefully sanded all the surfaces smooth. To fix a few chipped corners, I used Mohawk Epoxy Putty Stick, let it harden, then sanded it flush with the surface.
Step 3: Staining and Blending
For the drawers, I used Varathane Premium Get Stain in Cherrywood. Even with wood conditioner, the long drawer pulls on two of the drawers absorbed the stain differently, which initially worried me. But I kept going, trusted the process, and in the end, the variation added warmth and depth that I loved.
After sanding the repairs on the body of the nightstand, I used a wood furniture repair kit to add natural wood grain while color matching to hide the repair. This kit was a more budget friendly set for beginners and it did take a bit of practice to get the desired look.
To even out the color and hide the repairs, I used Mohawk Ultra Classic Toner in Dark Walnut . This step made everything look cohesive.
Step 4: Sealing and Conditioning
Once the stain dried, the nightstand was sealed with a high gloss polyurethane spray for a durable finish. I applied beeswax wood polish and conditioner to nourish the inside of the drawers and keep everything smooth and protected.
Step 5: Bringing Back the Original Legs
The last step was removing the casters and attaching replica mid-century wooden legs. It instantly brought the piece back to life and restored its original character.
The Final Result
This refinished nightstand turned out better than I imagined rich walnut tones, sleek mid-century lines, and functional beauty all restored. It was so rewarding to see this project turned into a beautiful statement piece and quickly find it’s home to a new owner. I sold this piece for $375, turning about a $300 profit for my first furniture flip.